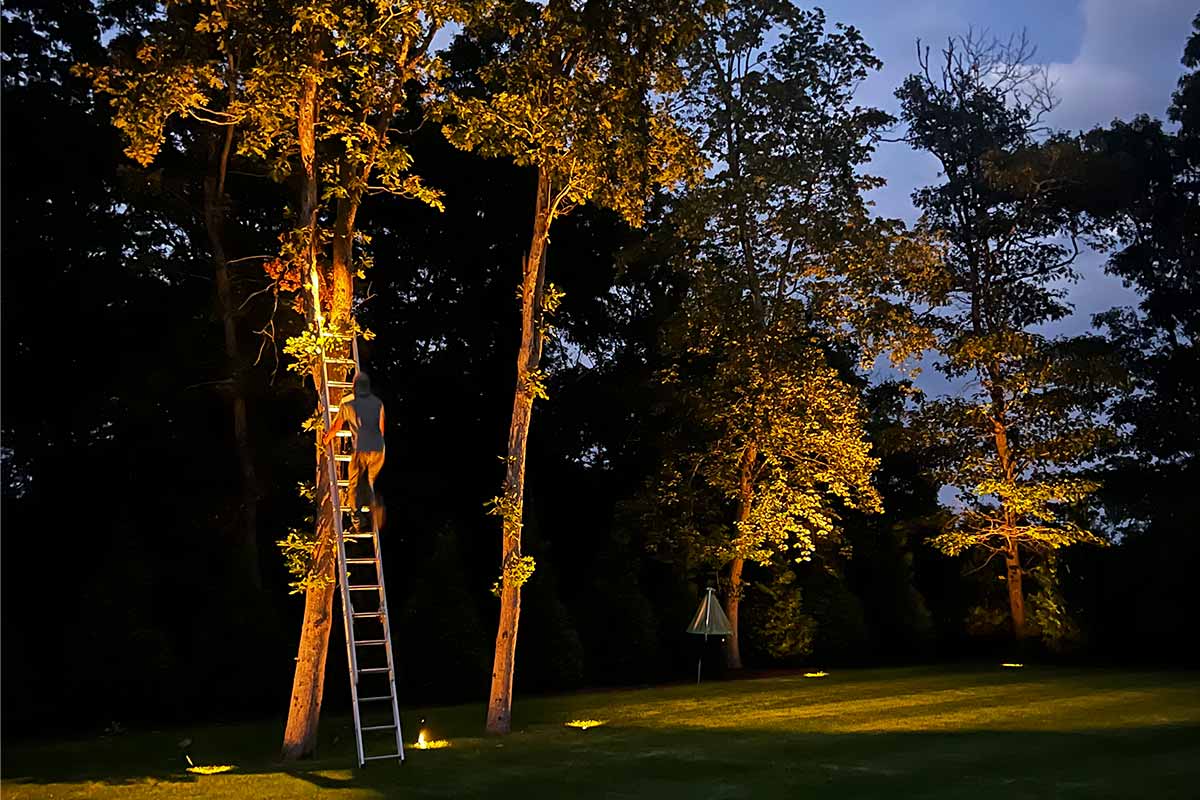
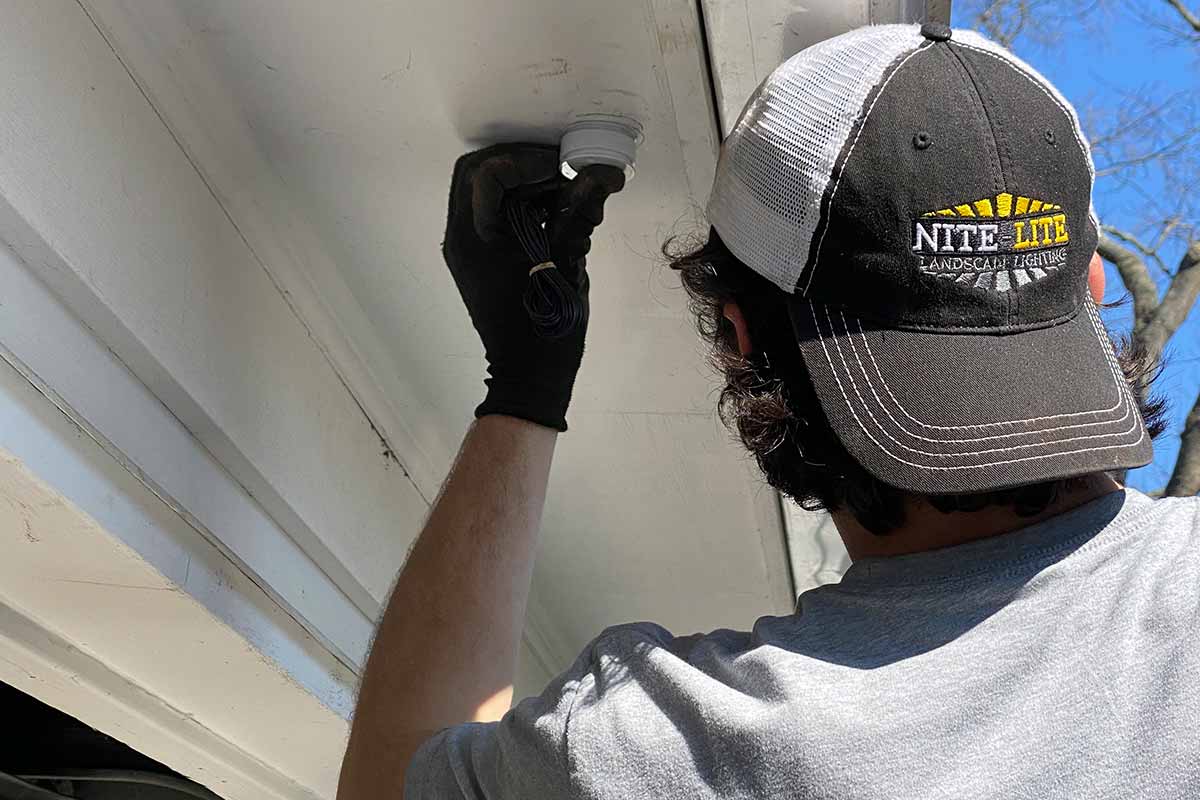
Reinforcing your property with outdoor lighting can dramatically improve its beauty, safety, and usability after dark. While professional installation ensures expertise and precision, understanding the general process and some good practices for installing outdoor lighting can always be beneficial for any homeowner considering this upgrade. Here’s an overview of the typical steps involved and some helpful tips.
Planning and Design are Key
Before any digging begins, having a well-thought-out plan is essential. Take a walk through your landscape and consider what areas you want to illuminate – pathways, entrances, landscaping features, or architectural details. Strategically lay out your desired fixtures, taking into account the spread and intensity of the light they provide. A good design will maximize the impact of your lighting while minimizing light pollution and ultimately, optimizing your costs.
Gathering Your Materials and Tools
Once your design is finalized, gather all the necessary materials. This typically includes your chosen outdoor light fixtures, low-voltage wire, wire connectors (professional-grade shrink tube connectors are recommended for a secure connection), and a low-voltage transformer with appropriate wattage for your system. You’ll also need tools such as spade shovels and trenching shovels for burying wire, wire strippers, and ideally a multimeter for testing connections.+

Key Stages of the Installation Process:
- Layout: Carefully position your assembled light fixtures in the locations determined by your design plan. This allows you to visualize the final lighting coverage and make any necessary adjustments before permanent installation takes place.
- Trenching: For wires that will run underground (which is generally recommended), you can begin digging trenches. In grassy areas, a spade shovel can often be used, while harder soil may require a trenching shovel. Ensure you dig to a sufficient depth to protect the wires and plan for seamless repair of the trenches afterwards. And don’t worry, grass grows quicker than you think and after a week or two you won’t notice any marks on your lawn.
- Wire Placement: Carefully lay out the low-voltage wire along the planned routes. You can either bury it directly in the trenches or, in some cases, run it temporarily above ground for adjustments during a final aiming appointment.
- Fixture Connection: Connect each light fixture to the main wire using appropriate connectors. Professional-grade shrink tube connectors are a good choice as they provide a secure, weatherproof seal. Ensure all connections are tight and properly insulated.
- Transformer Installation: Install the low-voltage transformer in a suitable location, following the manufacturer’s instructions. Wire the transformer to the main power source and connect the low-voltage wires from your lighting system to the transformer. Ensure the transformer’s wattage capacity meets the demands of all your connected fixtures.
Final Checks and Adjustments
Once all the fixtures are connected and the transformer is installed, it’s important to conduct thorough checks (this is when the multimeter will come in handy). Ensure that all lights are functioning correctly and providing the desired illumination. Use this opportunity to also make any necessary adjustments to the aiming of the fixtures to achieve the intended effect. Lastly, double-check all wire connections and the operation of the transformer.

Good Practices for Outdoor Lighting Installation
- Plan before you dig: A well-thought-out design saves time and effort in the long run.
- Use appropriate wiring: Always use direct burial rated low-voltage wire for underground runs.
- Protect your connections: Weatherproof connectors are essential for the longevity and reliability of your system.
- Consider future expansion: If you think you might want to add more lights later on, choose a transformer with some extra capacity.
- Bury wires safely: Ensure wires are buried deep enough to avoid damage from gardening or foot traffic.
- Test your system thoroughly: Before considering the job complete, verify that all components are working as expected.
- Follow local codes: Be aware of any local electrical codes or regulations regarding outdoor lighting installations.
Installing outdoor lighting can significantly upgrade your property. By following these steps and best practices, you can approach the project with confidence and create a beautiful and functional outdoor lighting system. Remember that for complex installations or if you are uncomfortable working with electricity, it’s often best to reach out to professional services that are always a safe and reliable option.

