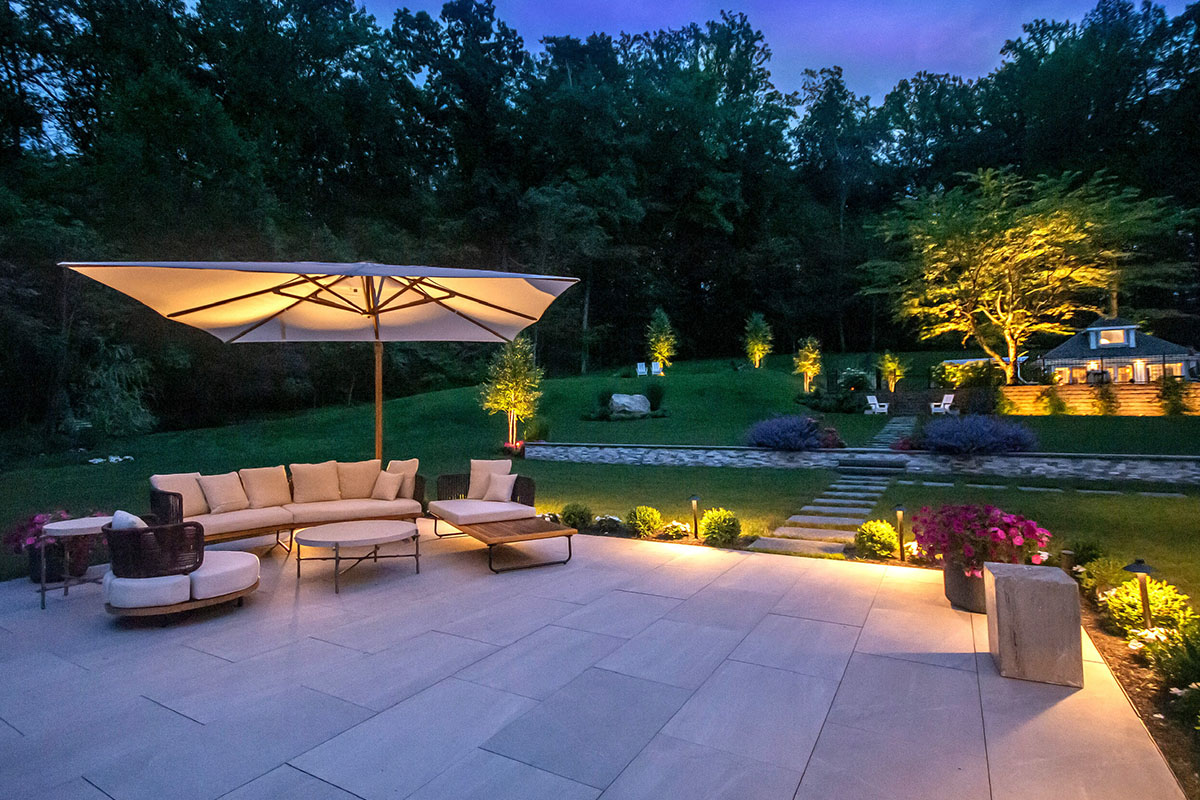
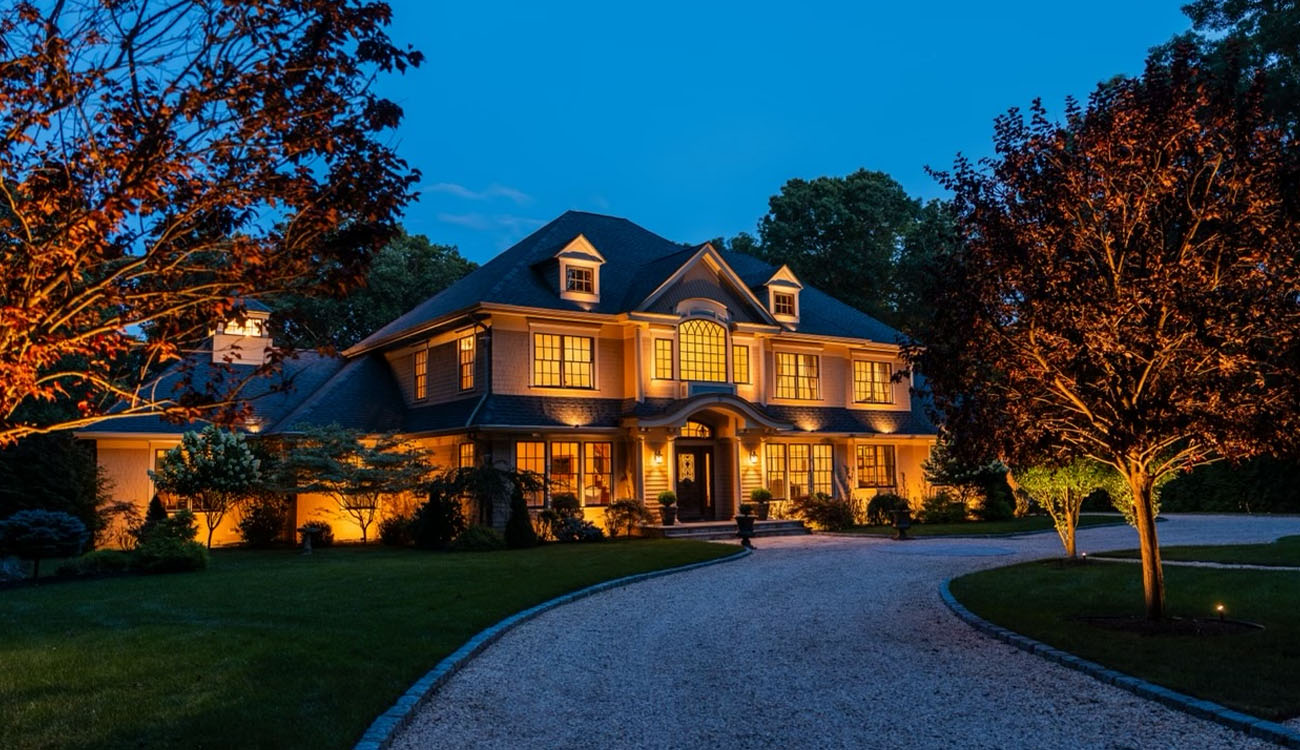
Low voltage landscape lighting is one of the best ways to add safety, style, and curb appeal to your home. But without the right installation, even the best fixtures can fall short. Homeowners across Plymouth County often make small but costly mistakes when setting up their systems, from poor wire placement to choosing the wrong transformers. In this guide, we’ll walk through the most common mistakes to avoid when installing low voltage landscape lighting, explain how to get better long-term results, and show why a professionally designed low voltage landscape lighting system offers lasting beauty, reliability, and efficiency for your Massachusetts home.
Why Quality Low Voltage Landscape Lighting Matters
Low voltage lighting systems are efficient, safe, and energy-saving, but they still require precision. Proper installation ensures:
- Even light distribution across your property
- Lower energy bills and longer fixture life
- Safer pathways and outdoor living areas
- Consistent brightness and minimal maintenance
At Nite Lite Boston, we use premium, weather-resistant fixtures and precise wire layout techniques to achieve a balanced design that enhances every corner of your property while staying dependable through all seasons. Learn more on our outdoor lighting service page. For additional insight into low-voltage outdoor lighting safety and efficiency, visit this helpful guide from Energy.gov:
Common Mistakes Homeowners Make During Installation
- Skipping the Design Plan
Many homeowners rush straight into installation without a design layout. A clear lighting plan ensures each area—walkways, trees, patios—gets the right amount of light. A thoughtful layout is especially important for Low Voltage Landscape Lighting, since beam angles and fixture spacing affect the final look. - Using Poor-Quality Fixtures
Cheap fixtures corrode quickly and fail under Massachusetts weather. Investing in high-grade, American-made fixtures guarantees performance and durability, especially for Low Voltage Landscape Lighting systems. Better fixtures also provide stronger, more consistent illumination that lasts through harsh seasonal changes. - Incorrect Wiring or Connections
Loose or exposed wiring can lead to shorts, dim lights, or system failure. Proper trenching, shrink-tube connectors, and secure wiring are essential for long-term function. Strong wiring practices also reduce voltage drop, helping every fixture stay evenly lit across the property. - Overloading the Transformer
Each transformer has a limit. Adding too many fixtures can cause inconsistent lighting or system damage. Always calculate total wattage before connecting. Keeping the transformer within its capacity ensures safer operation and extends the life of your entire system. - Ignoring Regular MaintenanceEven the best systems need upkeep. Seasonal checks, lens cleaning, and fixture adjustments keep your lighting looking its best. Regular maintenance also prevents small issues from turning into bigger repairs, protecting the lifespan of your Low Voltage Landscape Lighting system.
FAQs About Low Voltage Landscape Lighting in Massachusetts
###How deep should low voltage lighting wires be buried?
Wires should be buried at least 6 inches deep to protect them from damage, weather, and landscaping tools. This depth also helps prevent accidental cuts during gardening or lawn work. Proper burial keeps your system safe, stable, and performing well for years.
###Can I expand my low voltage landscape lighting system later?
Yes. We install transformers with extra capacity, allowing homeowners to add up to 20% more lights without replacing the system. This makes it easy to grow your design as your landscape changes. Most expansions blend seamlessly with the original layout when planned correctly.
###How long do LED low voltage lights last?
High-quality LED fixtures can last 10–15 years with regular maintenance and seasonal adjustments. Their long lifespan makes them one of the most cost-effective options for outdoor lighting. With proper installation, LEDs provide consistent brightness even through harsh New England weather.
###Does low-voltage lighting work well in cold climates?
Absolutely. LED systems perform efficiently in cold temperatures, making them ideal for Massachusetts homes. Unlike older bulbs, LEDs do not dim or fail quickly in winter. Their durability and low heat output ensure reliable lighting all year long.

Ready to upgrade your Plymouth County home with professional low-voltage landscape lighting? Contact Nite Lite Boston at (781) 488-5850 today. Our expert team designs and installs outdoor lighting systems built for beauty, safety, and long-term performance. Explore our outdoor lighting services.»


